
We know it can be a pain, but cleaning your computer is an important part of maintenance that can help keep it running smoothly and extend its lifespan.
But how often should you clean your PC?
The answer to that question depends on a few factors, including how often you use your computer, the environment in which you use it, and the type of computer you have.
In this article, we’ll explore those factors and provide some guidelines for how often you should clean your computer. We’ll also give step-by-step instructions on what we feel is the best way to clean each component.
This article will cover desktop PCs specifically. If you’re looking for help with cleaning your laptop, we’ve got you covered here.
How Often Should You Clean Your PC?
We recommend that you clean your PC every three months. But depending on your situation that may be too infrequent or too often. This is due to multiple factors such as how often you use your computer, the environment in which it’s used, and the type of computer you have.
Factors That Affect How Often You Should Clean Your Computer
As we said, there are a few things to consider when asking yourself how often you should clean your PC. We’ll condense these into three main points:
1) Usage: How often you use your computer is a major factor in how often you should clean it. If you use your computer every day, you’ll need to clean it more often than if you only use it occasionally.
2) Environment: The environment in which you use your computer can also affect how often you should clean it. If you use your computer in a dusty or dirty environment, you’ll need to clean it more often than if you use it in a clean, relatively dust-free environment.
3) Type of Computer: The type of computer you have can also affect how often you should clean it. For example, desktop computers tend to collect more dust than laptops, so they may need to be cleaned more often. Furthermore, Gaming PCs are used heavily and should be maintained even more frequently.

Guidelines for How Often You Should Clean Your Computer
Here we will go over a few guidelines and things to consider when it comes to how often you should clean your PC.
If you use your computer daily, you should clean it every three months. A good rule of thumb for those of you who use your PC every day for activities such as gaming or work is to do a deep clean with the changing of the seasons.
If you only use your computer occasionally, you can get away with cleaning it every six months or longer.
You should clean your computer more often if you use it in a dirty or dusty environment. If you use your computer in a place where there’s a lot of dust or dirt, then we recommend that you clean it as often as once per month.
Pets are another thing to consider. Pet hair and dander can get into your computer and cause it to overheat. If you have pets, you should clean your computer more often to prevent this from happening.
Lastly, if you smoke you’ll need to clean your PC very regularly. Smoking can cause a buildup of tar and nicotine on your cooling fans which will gather dust much quicker, causing your PC to overheat. Even for occasional users, we recommend that you clean your computer at least every three months if you’re a smoker.
Frequency & Best Methods for Cleaning Each Component of Your PC
It is important to note that before cleaning your PC, you should turn off and unplug your computer to avoid any potential electrical hazards. Be careful not to get any moisture or cleaning solution on any electrical components or connectors as this could cause serious damage to your machine. Furthermore, You should never use a vacuum to clean any components. Vacuums create static which could discharge into your components, effectively turning them into very expensive paperweights.
How Often & How to Clean Your PC Case
We recommend cleaning your case’s exterior every couple of weeks to a month to keep it looking nice. But the best way to clean a case depends on the type of material it’s made of.
Metal PC Cases
Metal is a popular material used for many cases and is quite easy to clean. The best way to clean a metal case is to simply wipe down the exterior with a damp cloth. For any stubborn areas, you can use a soapy water mixture and a stiff brush like an old toothbrush to really get in there and break up the grime.
While metal is a tough material, any paint could become tarnished due to harsh chemicals, so make sure not to use anything like acetone or any other strong solvents.
Plastic PC Cases
When it comes to cleaning plastic you need to make sure you don’t use any harsh chemicals that could discolor or warp the material. Make sure to only use water and a gentle soap if needed.
But just like metal cases, they can typically be cleaned with just a damp cloth and some elbow grease.
Glass PC Cases
Now for glass cases. Most PC cases come with a tempered glass access panel. But some, like the Thermal Take Tower 900 are made almost entirely of glass.
For these, we suggest using a glass cleaner and a soft cloth. Make sure you spray the cleaner onto the cloth and not on the case. Spraying the case itself risks liquid getting in a place you don’t want it to. While it’s only a mist, you shouldn’t risk it. Murphy’s law can be a real pain.
Don’t Forget About Dust Filters
Whenever you clean your case you should also go ahead and clean the removable dust filters that are present on most modern cases. these can be found on the front, top bottom, and/or rear of your case, basically anywhere there is a fan.
To clean your dust filters, you can remove them from your PC and wipe away any dust. For any filters caked with dust, use compressed air or warm running water and a brush to clean them thoroughly. If you take the water route, make sure to let them dry completely before reinstalling them.
How Often & How to Clean Your Motherboard
Keeping your motherboard clean isn’t as detrimental as some of the other components, but it shouldn’t be completely ignored. We recommend cleaning your motherboard at least once a year as long as you keep the rest of your components tidy.
The best way to clean your motherboard is to remove it from your PC. That means you’ll need to completely disconnect your motherboard and all of its components.
Keep track of where everything goes or it could be a struggle to put it all back together. One of the best tips we have is to take pictures with your phone as you go. That way you can see everything you unplugged and where it goes for when it’s time to put it all back in.
Once you have everything removed, you can use a brush or compressed air to clean any loose dust.
For any exceptionally soiled areas, you can use 70%-90% isopropyl alcohol. Just dip a cotton swab or brush into the alcohol and scrub the area. To minimize the risk of damaging anything, only use 70%-90% isopropyl and only a little bit.
The swab or brush only needs to be damp, not soaked. It’s important that you do not use water or any other cleaning solution as it can cause damage to your electrical components.
Seeing as everything is already taken apart, you should clean all your other components while you’re at it. Below we continue going over each component, so follow along before you reinstall everything.
If you only want to clean your motherboard, then you’re done, put it all back together and plug it in.
How Often & How to Clean Your PC Fans
Cleaning the fans in your computer is one of the most important preventative measures you can take to prevent your system from overheating and potentially damaging its components. For the best performance, we recommend cleaning your fans every six months minimum.
To clean your fans, you’re going to need to remove them. They’re typically screwed in place with four screws. Once removed, you can use compressed air or a soft brush, like an old makeup brush or big paint brush, to remove any built-up dust.
If you use compressed air, make sure you hold the fan in place to prevent it from spinning which could damage the motor or bearings if it spins faster than it’s designed to.
While you have the fans out, clean the areas around the fans that may be harboring any hidden dust. Once everything is clean, you can put it all back together. Ensure that your fans are mounted properly and everything is plugged in where it should be.
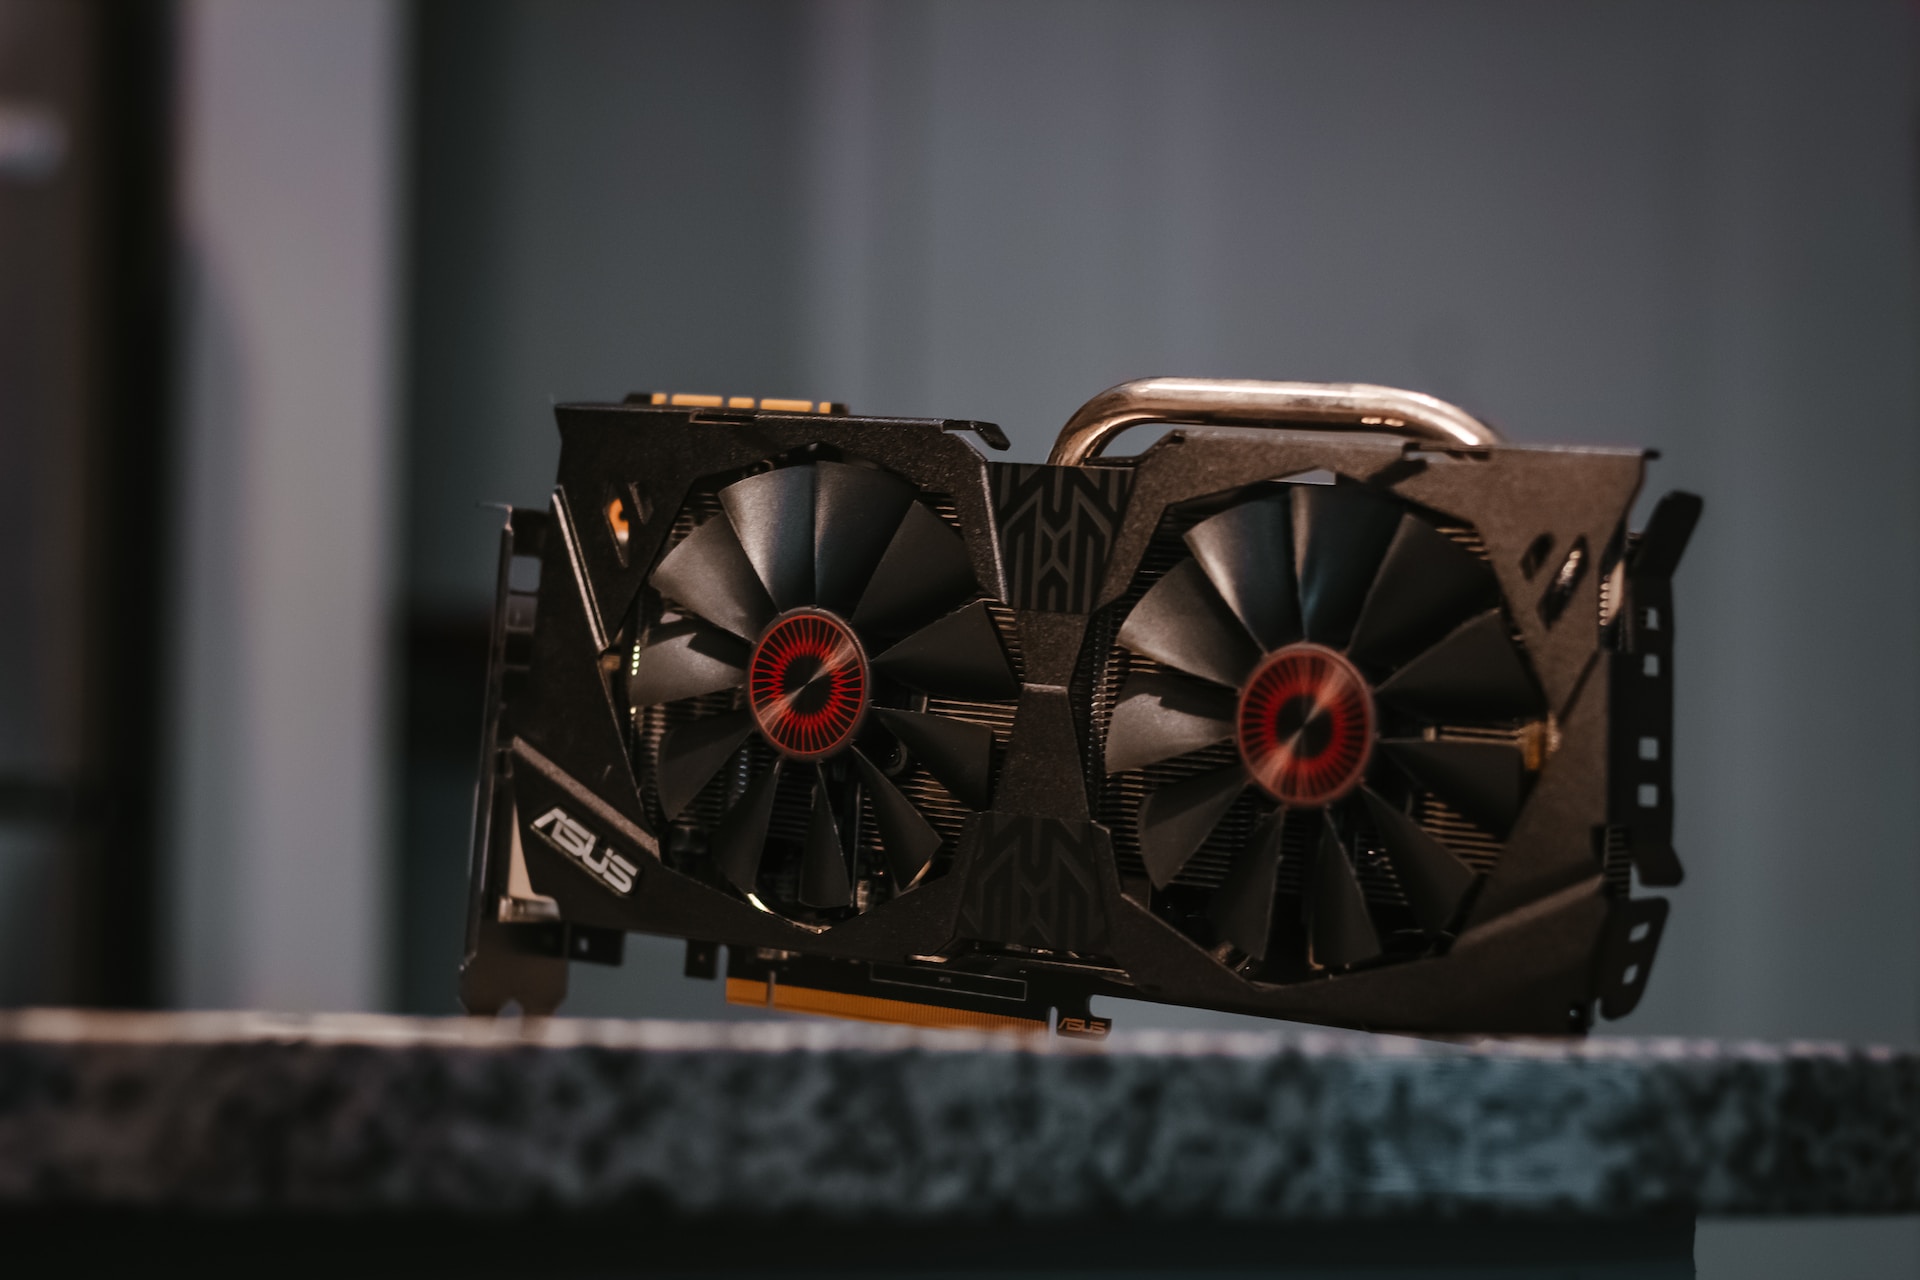
How Often & How to Clean Your GPU
Your GPU (Graphics Processing Unit) is one of the hardest working parts of your computer. This is why keeping it clean is important to prevent it from getting clogged with dust, leading to increased temperatures which will lower performance.
With how expensive GPUs are, you want to make sure you keep them clean with routine preventative maintenance. We recommend cleaning your GPU every three months to ensure it stays at optimal performance.
Once you have your case open, you’ll need to unplug the power cable running to your GPU. Then unscrew the mounting screws near the rear of your PC at the I/O panel.
Now you can press the tab on the motherboard holding your graphics card in place and remove it from your case.
Use a soft brush, cloth, or compressed air to clean the exterior of the GPU as well as the fans. Again, make sure to hold the fans in place so you don’t accidentally damage the motor or bearings.
Next, you can blow out the heatsink with compressed air to remove any dust that may be accumulating.
Now, to really clean everything you’ll need to remove the shroud and the fans. Once removed, cleaning everything will be much easier, and more thorough.
However, removing the shroud and fans might void your GPUs warranty. So make sure to check your warranty before taking anything apart.
Now that everything is clean, you can put it all back together. Be careful to ensure that the GPU is mounted properly with the latch secure and the screws in place. Once you’re done, you can plug it all back in.
How Often & How to Clean Your PSU
The PSU (power supply unit) is probably the most overlooked, and possibly the most critical component to keep clean. The PSU is the part that powers the computer. If it gets clogged with dust it could fail, or worse, catch fire. While the latter is very uncommon, especially nowadays, it can happen.
The best way to keep your PSU from becoming a fire hazard is to keep the rest of your computer clean. Once dust builds up and gets sucked into the PSU, it can be dangerous to remove. We recommend cleaning your PSU every 3-4 months.
To clean your PSU, open your case and start unplugging everything that’s connected to the PSU. Just like with the motherboard, you should take pictures of the cables so you know where they all go later.
Once everything is disconnected, unscrew the PSU from your case and carefully remove it from your PC.
Next, use a damp cloth, brush, or compressed air to clean the outer surface. If you see any dust on the exhaust area, try to pull out what you can without going inside of the PSU itself.
It’s important that you do not try to disassemble the PSU. Doing so risks electrocution because the PSU is full of capacitors that can still deliver a harmful shock if you accidentally touch them, even when it’s unplugged.
Furthermore, do not attempt to spray compressed air into the unit. This could cause any dust within to be pushed further into the power supply and possibly get into areas where it could ultimately lead to a fire.
That’s why keeping the rest of your PC clean is the best preventative measure for keeping dust out of your power supply.
While you have the PSU removed, clean the area around where the unit belongs. Now that everything is clean, you can install the PSU and plug everything back in.
How Often & How to Clean Your CPU Cooler
Alongside the GPU, your CPU is equally hard-working and requires a frequent cleaning routine to maintain proper operating temperatures.
Whether you have an air cooler or an AIO cooler, we recommend cleaning your cooler every three months as this component is crucial to keeping your PC temperatures cool.
We’ll start this section with air coolers because both are cleaned in a similar fashion.
Air Cooler
To remove your cooler, typically, you’ll need to release the latch on the side near the motherboard. But some could be held in place by screws and brackets.
Now here’s the tricky part. Depending on how long it’s been since you’ve cleaned your cooler, the thermal paste may have hardened. When this happens it’s basically concrete and glues your cooler to the processor making it difficult to remove.
If your cooler doesn’t just lift right off, we recommend unlatching your CPU and taking them out together. This way you minimize the risk of bending or ripping out the fragile pins on your CPU (That happened to me once, not fun).
Now, carefully use a razor to get in between the cooler and the CPU and gently pry it off. Don’t use a lot of force, you don’t want your CPU to go flying. With a little patience and effort, the CPU should come dislodged from the cooler.
Once your cooler has been removed, unscrew the fan from the heatsink and clean them both. Use a brush or cloth for the fan and compressed air to blow out the heatsink.
Next, you can use a razor to chip off the hardened thermal paste from the cooler and the CPU. If your paste is still, well, pasty you can simply wipe it off with a cloth or cotton swab that’s lightly damp with 70%-90% isopropyl alcohol.
If you had to remove your CPU, reinstall it now that it’s cleaned, and make sure to line it up properly. Usually, there is a triangle in one corner that lines up with a similar triangle on the CPU slot of the motherboard.
It only goes in one way, so don’t force it. When you have it just right it’ll fall into place very easily.
Now apply the thermal paste. We recommend using a spreader to make an even layer. But if that’s not available you can just make a thin X from corner to corner with a small dot or line in between each arm. This will help ensure maximum coverage and allows the heat to transfer to the cooler more efficiently.
Carefully place your cooler back on the CPU and latch it down. This part can be a little tricky as well. But once you latch it properly, the CPU cooler should sit level and center. If it looks crooked or uneven, keep working at it until it sits right.
AIO Cooler
Everything above will apply to an AIO cooler as well but with a few minor differences.
An AIO uses a radiator rather than a heatsink. You’ll have to remove the radiator and fans by unscrewing the screws holding them in place. Additionally, Your water block will be attached to your CPU with a bracket and thumbscrews.
Once you have it all taken apart, clean your fans and blow out the radiator. Make sure to clean the areas surrounding everything while it’s all removed.
Now just apply new thermal paste, plug it all back in, and you’re good to go.
- To read our full guide on how and how often to clean your AIO cooler, click here.
Final Words
Cleaning your computer is an important part of maintenance that can help keep it running smoothly and extend its lifespan. The frequency with which you should clean your computer depends on how often you use it, the environment in which you use it, and the type of computer you have.
Generally, we recommend that you clean your PC every three months. A great trick to remember to clean it is to clean your PC with the changing of the seasons.
By following the guidelines we outlined in this article, you can help ensure that your PC stays clean and healthy for years to come.
If this article helped you, please consider sharing it with friends and family on social media. And as always, feel free to ask us any questions or give feedback in the comment section below.
We love hearing from you!
Be the first to comment