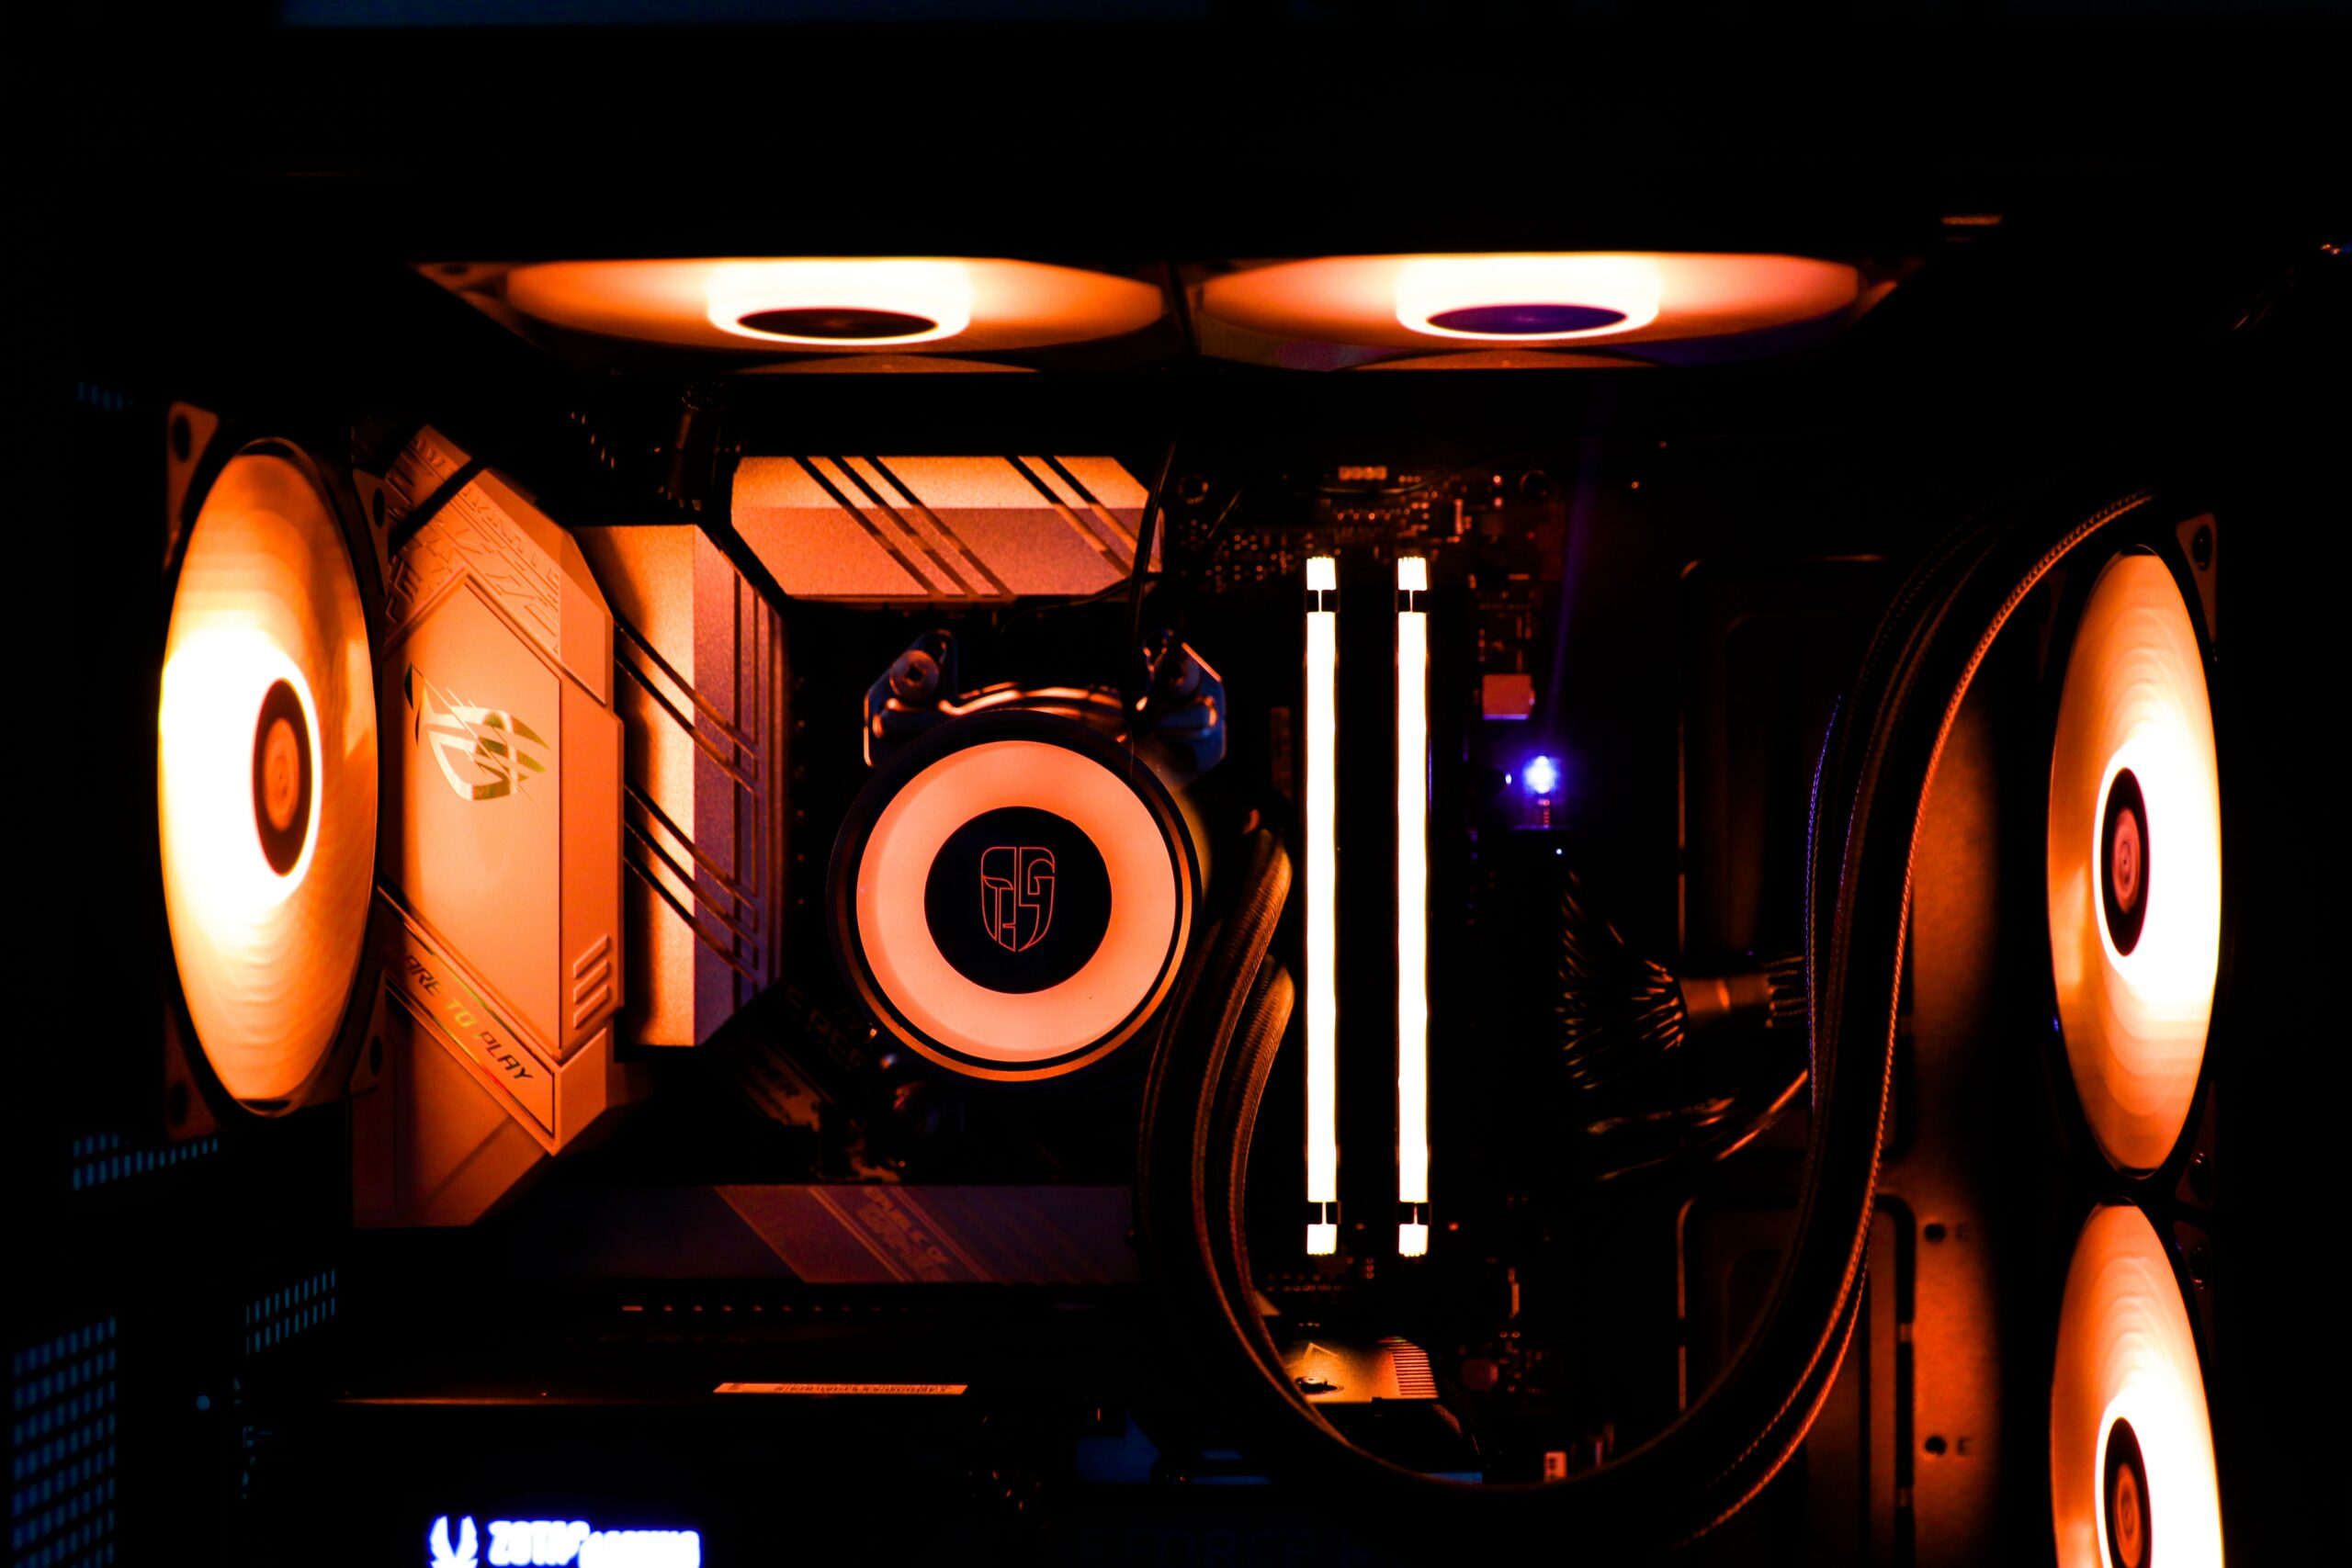
Have you been wondering how “maintenance-free” AIO coolers really are? Due to their all-in-one promise, the marketing around them can seem very confusing, especially if you’re hoping to keep your computer performing at the highest level it can.
Throughout this guide, we’ll not only answer your question about how and how often should I clean my AIO cooler, but give some information on why you should as well.
How and How Often Should I Clean My AIO Cooler?
You should aim to clean your AIO cooler at least once every six months. To do this, you’ll start by maintaining your radiator and its fans, inspecting coolant status and finally making sure the thermal paste is still in a good state.
How to Clean the Radiator of Your AIO Cooler
To clean and maintain your AIO cooler’s radiator, you’ll want to disconnect power and then use a can of compressed air to blow out any dust or grime that has built up. This is vital to keeping your computer (specifically your CPU’s) temperatures low. Lower temperatures improve performance during gaming and the lifespan of ALL components within.
To start, as with any activity you’ll do inside of your gaming (or work) PC, ground yourself and disconnect the machine from power. Don’t forget to actually flip the power supply to off as it does hold some residual charge. Once turned off, open your case and expose the radiator and its fans.
Typically, the fans of an AIO CPU cooler will be located at the front and back of the machine. The front fans are for bringing cool air in and the rear fans (towards the back of the case) will blow air out of the machine through the radiator. There are a lot of new types out there as well so you’ll need to open your case depending on the type of AIO cooler you have.
Once opened, start to disconnect the AIO cooler’s fans while taking note of their position. You should notice that they are pointing in a certain direction and are plugged into the power supply. Yeah, it’s a bit of a headache but will save you a bigger one later!
Once the radiator and its fans are removed from the case (make sure to bring the pump and cables along if needed), unscrew the fans from the radiator (typically they are attached) and once again note their position relative to it. This is important. Alright, now for actually cleaning the radiator!
Here are a few tips to effectively clean the radiator now that it’s out in the wild:
- Use a can of compressed air to blow out the built-up dust and particles
- If there are hard-to-remove pieces, grab a cotton swab to clean out tinier places
- Remain grounded during this whole time. While the radiator itself probably won’t get fried, accidentally static charging it before putting it back into your machine can cause lots of issues
Once you’ve successfully cleaned out your radiator, hold on! Let’s clean the fans next before you put it back together.
- YOU MAY ALSO LIKE: Best 120mm AIO CPU Coolers
How to Clean the Radiator Fans of Your AIO Cooler
We recommend using a microfiber anti-static cloth to clean your AIO cooler’s radiator fans. Knowing how and how often you should clean your AIO cooler starts by knowing how to clean these fans effectively.
The radiator fans work hard to push cool air in and hotter air out of your machine. When they’re gunked up, the motor has to work harder to do the same operation and usually causes the machine to be louder as well.
Use an anti-static, microfiber cloth to brush most of the dust away. Once it looks nice and clean, follow up with a cotton swab to clean the screw holes and any nooks and crannies that you couldn’t quite get with the cloth. After this is completed, you can now re-assemble your radiator and fans in your machine.
Be sure to reattach the fans in the same direction they were facing when you removed them. Remember that these all have a purpose and if installed incorrectly, your fans won’t function as intended, and more than likely a component will be damaged.
Once all parts are connected again, connect your fans to the power supply and you’ve completed maintenance for both the radiator and its fans.
Nice work!
One last thing before you close it back up again. Check on the CPU to ensure the cooling system is at its best.
- RELATED ARTICLE: Best Radiator Fans
How and When To Replace Your CPU’s Thermal Paste When using an AIO Cooler
You should replace your CPU’s thermal paste when it has become completely dry or evaporated completely. While the original question was how and how often should I clean my AIO cooler – another question every PC builder should consider is when should I replace my CPU thermal paste?
The answer is you should check it every time you perform this AIO maintenance and replace it every time it is dry/cracking and effectively no longer doing its job. Of all the performance improvements that occur from regular maintenance, making sure your processor is as cool as possible will be the biggest.
Let’s talk about how to do that. Before touching the CPU, or even getting close to it, ground yourself and follow best practices to prevent static shock such as wearing an anti-static bracelet.
You’ll thank us later!

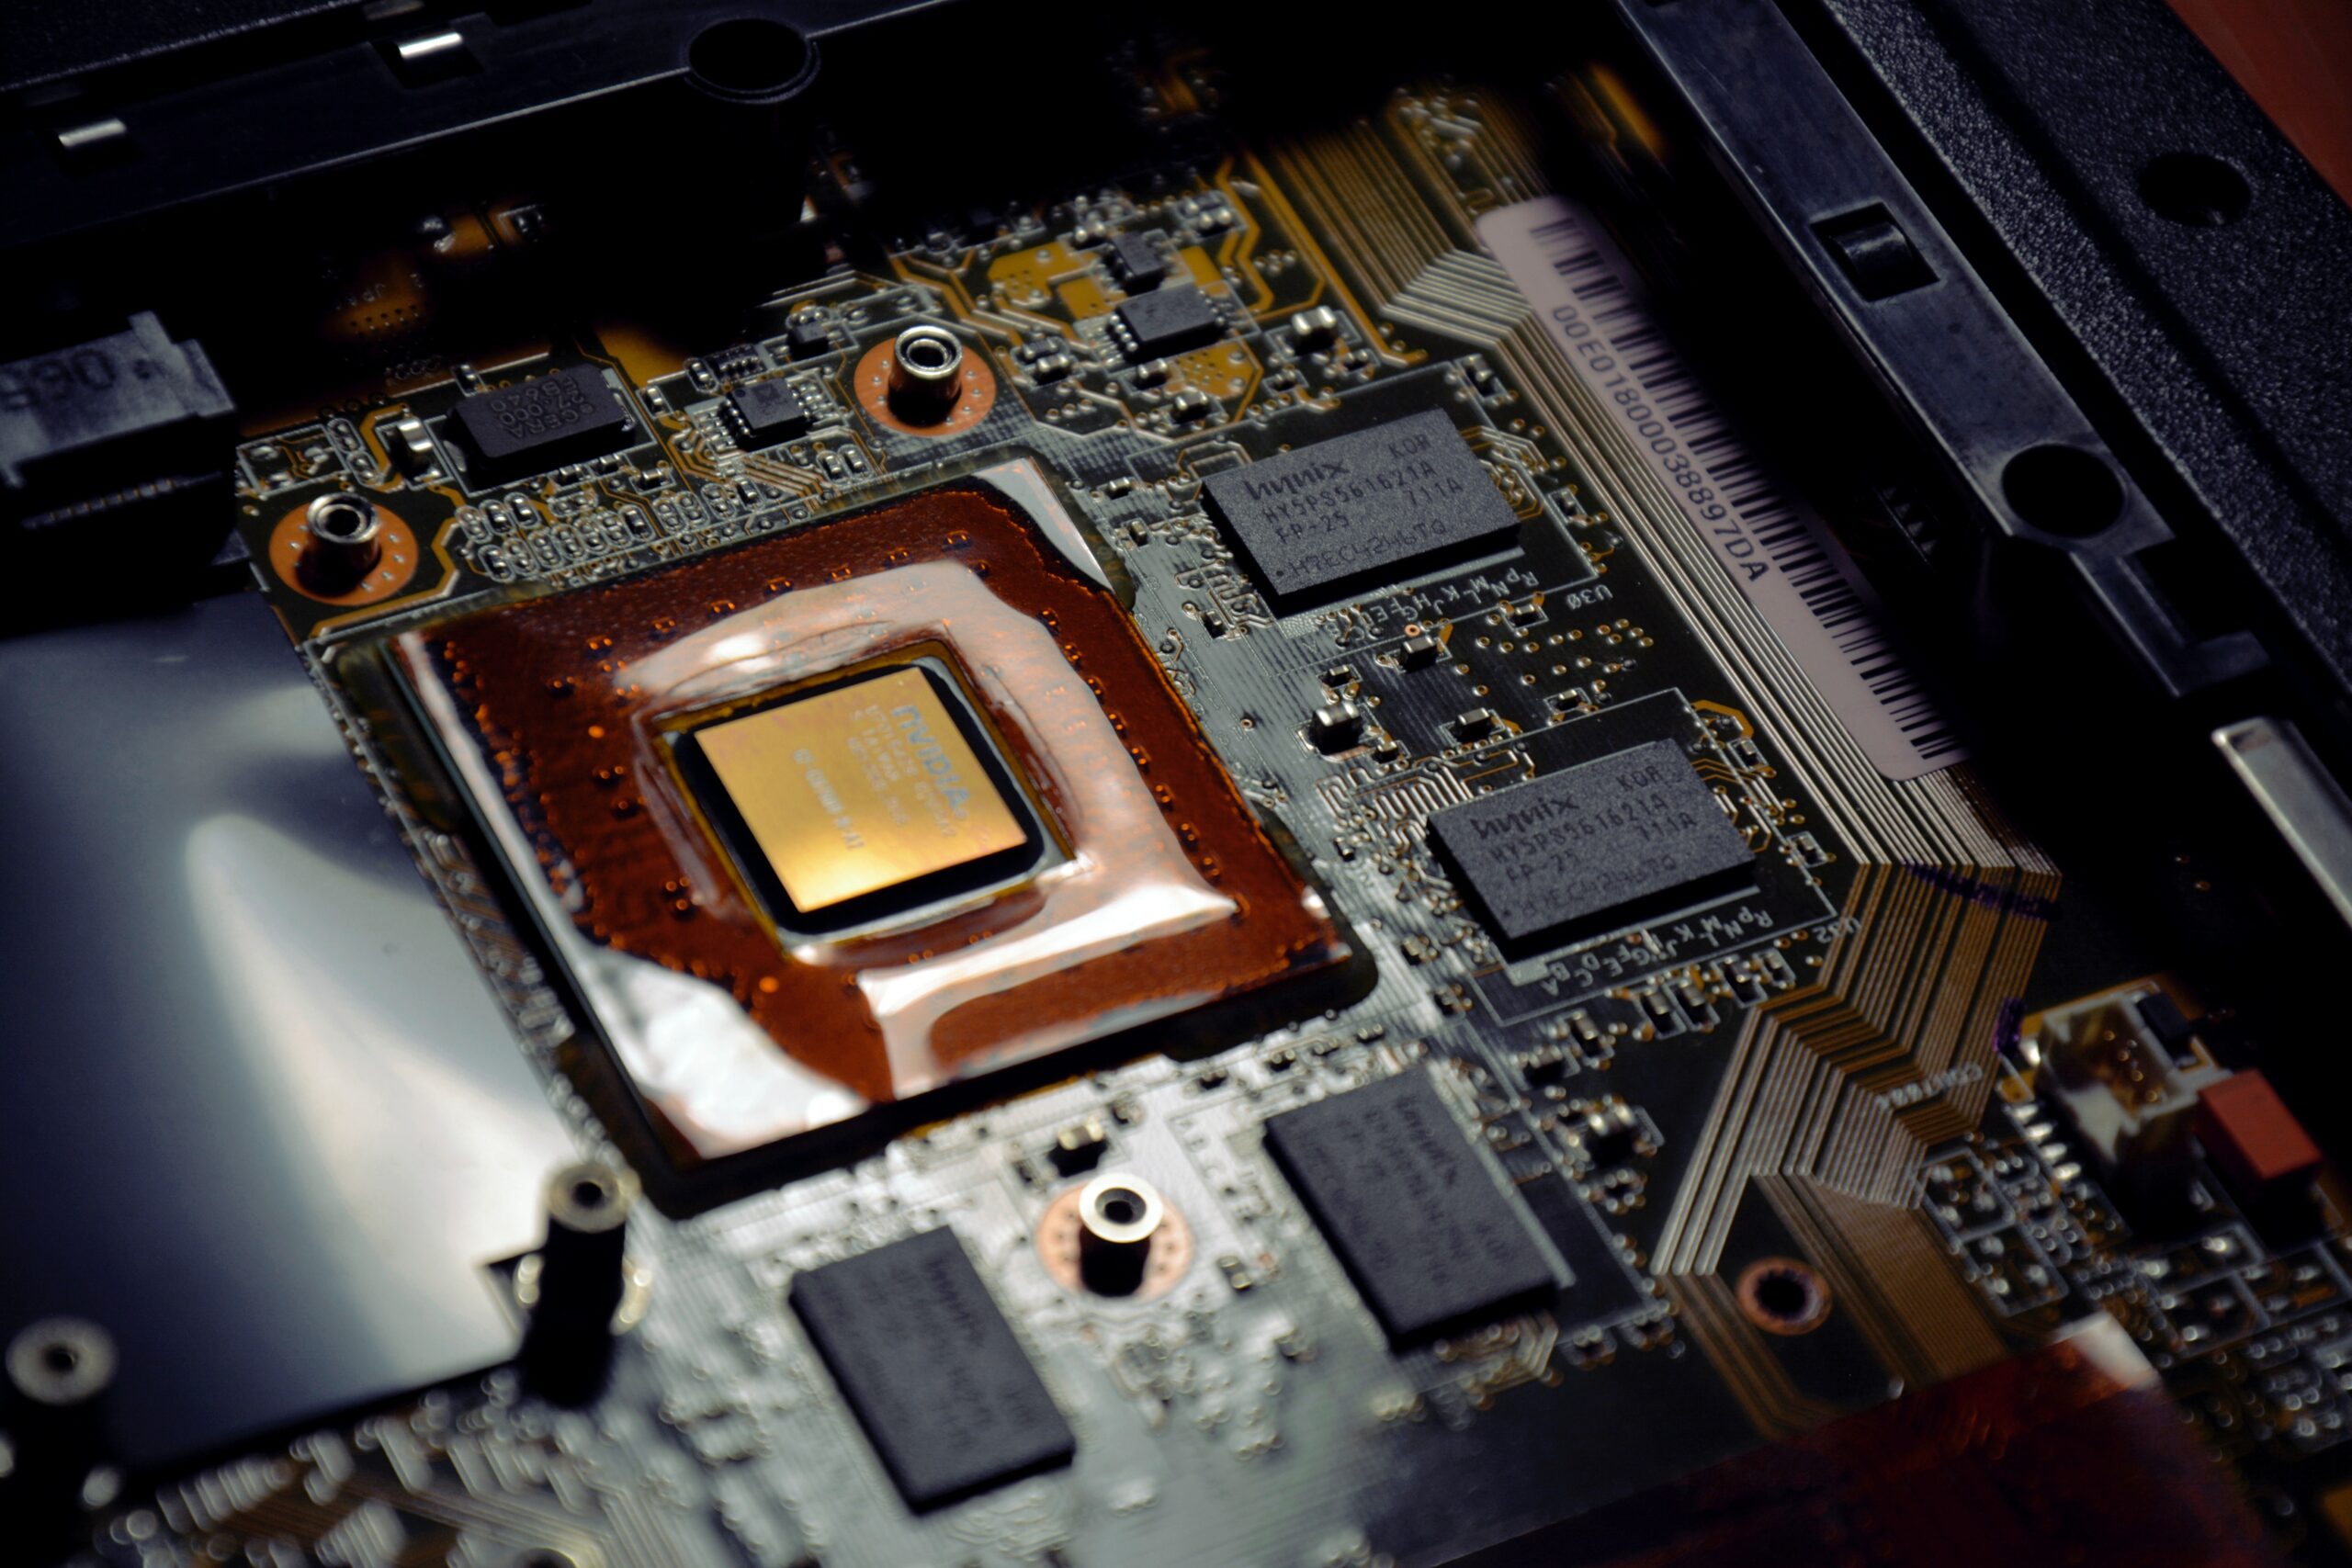
Once ready, remove your AIO from the top of the CPU. Typically this component will be secured by a few screws so be very careful removing them to expose the top of the CPU. Once exposed, examine the state of the thermal paste. If your paste has the consistency of a grey overly dry and flaky pie crust, it’s time to replace it. If instead it still appears gel like then you can hold off for now.
Generally, CPU thermal paste can last up to two to three years before replacement but it’s still a good idea to check when you’re maintaining your AIO cooler. This better safe than sorry approach should also apply to the coolant found within the tubes of this all-in-one solution.
- READ ALSO: Best 360mm AIO CPU Coolers
Do You Need to Replace the Coolant In Your AIO Cooler?
No, under normal conditions, you should never need to replace the coolant in your AIO Cooler. As someone looking for the answer to how often should I clean my AIO cooler, you probably already know its benefits but we’ll list them just in case.
AIO coolers are typically composed of the following pieces:
- A self-contained system of tubes containing coolant that attaches to the CPU and provides cooling through heat transference/removal via the radiator
- A radiator that receives the now heated liquid that then dissipates the heat and circulates back cooled liquid through the tube system
- Two sets of fans with one drawing cool air into the machine and the other keeping the radiator cool while also pushing hot air out of the machine
This is typically the set of pieces that combine into an all-in-one cooling system. The key to this whole thing though is the coolant-filled tubes.
There are horror stories about the coolant possibly leaking and destroying the other components if not found early enough. That is why we are taking this step to confirm that all is good and not just replacing the coolant inside.
To begin this leg of maintenance, ground yourself and take a paper towel then carefully run it along the length of the coolant pipe/tube towards the radiator and back. If you notice at any point that there is a leak then you will want to take action.
To replace the coolant though will require a bit more involved steps and some courage. There are plenty of videos out there recommending how to DIY this process but we highly recommend either seeking an expert or investing in a brand new AIO cooler instead.
This recommendation is because the process to replace the coolant in one of these devices is meant to be difficult by design. If you break the connector to the radiator, accidentally add too much air back into the pump, or just use the wrong coolant ratio, the whole system (and possibly other parts of your computer) can be compromised and damaged.
Instead, we want to protect your machines so we’ll hold off on the steps for how to do it for now. But just know if you notice a leak, then you should aim to get it replaced immediately to avoid additional component damage. Do not operate your machine until that hole is fixed or replaced.
- RELATED READING: Best Budget AIO Coolers
Final Thoughts
So, in answering how and how often should I clean my AIO cooler, we recommend performing maintenance every six months to ensure your machine is running the very best it can.
By cleaning the radiator and its fans, replacing the CPU thermal paste as needed, and investigating the status of your coolant, you’ll have a gaming machine that will last for way longer than one you never took the time to check out.
Were we wrong about the coolant thing or perhaps there are other important PC maintenance tasks you’d recommend? Leave a comment below as we’d love to hear from you!

Be the first to comment